The Cattle Guard

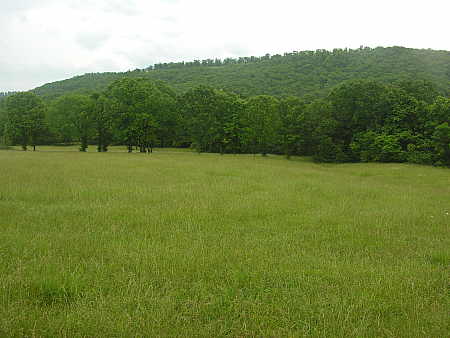
It’s the time of the season for our neighbor to start baling our hay.  As you can see, the fields are lush and green this time of year.  And very tempting for the cattle grazing in adjacent pastures.  You may recall a post entitled Invasion of the Corn Snatchers from last year, wherein I recounted the destruction of one of our wildlife feeders by a marauding herd of hungry cattle that breached our fencing.

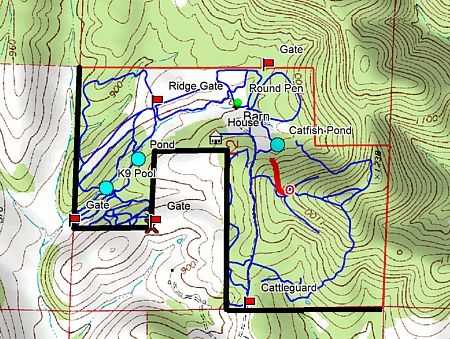
When we find neighboring cattle on our land, it can usually be traced to a failure of the barbed wire fencing which surrounds the property.  The black line on the topographic map above depicts 2.25 miles of barbed wire fencing that separates our property from the land of neighbors who run cattle.  Fallen trees or old, brittle fence wire usually account for the intrusions.

Yesterday, we had a different problem.  A few cattle were roaming along our entry road, but there were no breaks in the fencing.  How were they getting in?

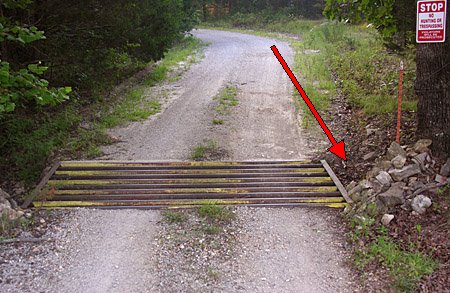
This photo shows the (not so) Grand Entrance to our property.  It is a county road, protected by a pipe cattle guard.  The red arrow that I have added to the photo points to the corner of the cattle guard that neighboring cattle were jumping over in order to reach our tempting hay fields.  There clearly needed to be an obstruction added to this side of the cattle guard, to prevent the cattle from hopping the guard with impunity.

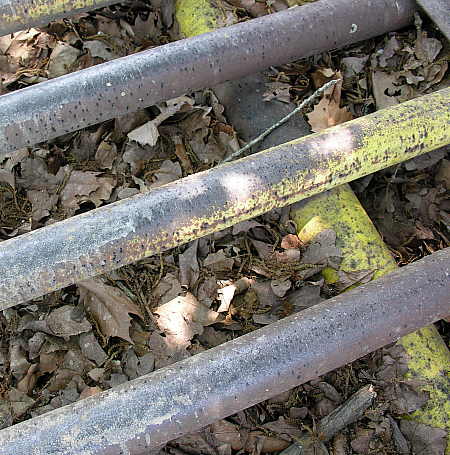
Additionally, when I inspected the guard itself, I noticed that years of accumulated leaves and debris clogged the underside of the guard.  The cattle guard is supposed to present itself as a deep, dark, mysterious place to the cattle that make an approach.  The buildup of debris under the guard spoils the effect, and the cattle are no longer spooked by the device.  It needed cleaning, pronto!

With shovels and rakes, and after much sweat and toil on the part of Retta and myself,  the job of clearing out the underside of the cattle guard was finally completed.  Now, to address the problem of insufficient side barriers.  What could we use to block the side of the cattle guard?

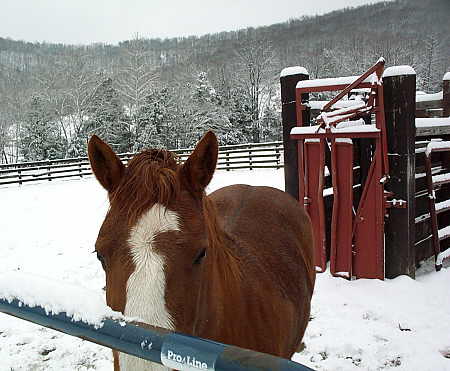
Here is a photograph taken 7 years ago in our paddock area, back in the time when we still had a cattle squeeze chute installed.  Notice at the front of the chute there is a red head gate in place.  The head gate is used to hold the head of the cow still, thus immobilizing the animal (usually for veterinary work).  When we removed the squeeze chute from the paddock, we retained the old head gate, just in case we needed it for something in the future (you just never know when a cattle head gate will come in handy)!

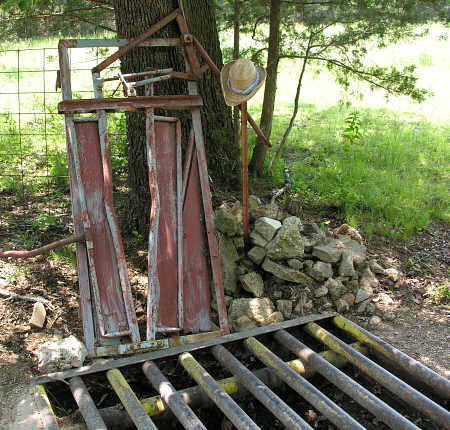
Well, the head gate finally came in handy!  By propping it up against the tree, we have eliminated the easy path that the neighboring cattle had used to hop across the cattle guard.  Notice, also, how the underside of the guard is empty and clean – and once again spooky to the cattle.

It isn’t a pretty solution, but it does have a rustic, yard-art type of feel to it, especially knowing that it was once a necessary piece of equipment used here at the ranch.

Convertible Bench/Table Construction Plans

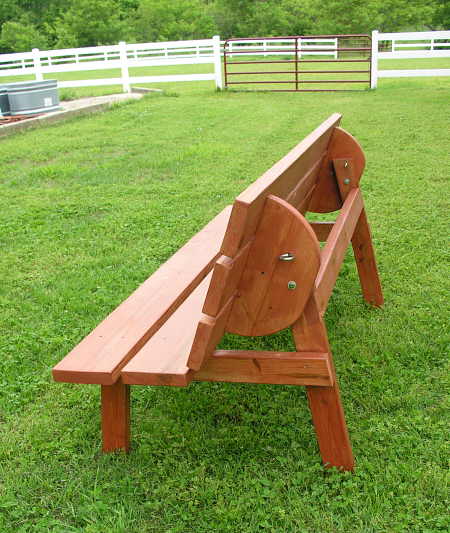
In a previous post entitled A Benchtable  (October, 2007), I showed photographs of a convertible bench/table that I had built in my workshop.  Since then, Karl, Kostas, and Sylvia have requested plans for this indispensable piece of outdoor furniture.  I have tweaked the design a little bit since the first prototype, and have built a few for testing in the field (literally, in a field).


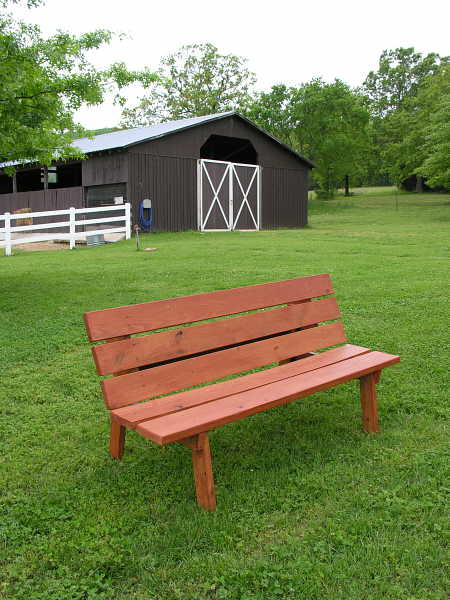
The photograph above shows a recently completed benchtable.  From the front, the new design looks the same as the past iteration.

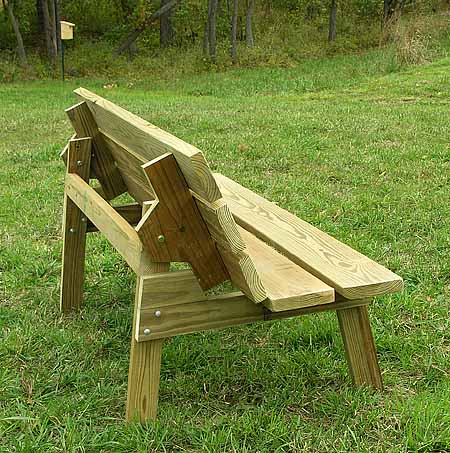
The change is visible when viewing the benchtable from the side or back.  Compare the rounded seat back/table top supports in this new design to the old design in the following photograph:

In this old design, the supports were built with straight lines and sharp angles.  The old design also employed the use of stop blocks on each side to lock the back support in it’s seating position.  The new design provides a more pleasing look, and is locked in place by  5/16″ eye bolts (that also serve to lock the top into position when used as a picnic table).

.

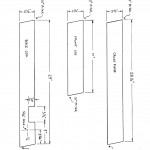
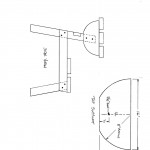
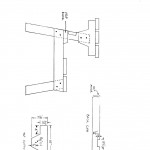
Click on each of the three thumbnails above for a full-sized mechanical drawing, which can then be printed for your use during construction.

Materials List

  • Lumber             -   2″ x 4″ x 8’        (3 pieces)
  • Lumber             -   2″ x 6″ x 8’        (3 pieces)
  • Lumber             -   2″ x 8″ x 8’        (2 pieces)
  • Carriage bolts   – 5/16″ x 3 1/2″    (8 pieces + nuts and washers)
  • Hex bolt           -   5/16″ x 4″         (2 pieces + nuts and washers)
  • Eye bolts          -    3/8″ x 6″          (2 pieces)
  • Deck screws     -  #8 x 2 1/2″        (32 pieces)
  • Carpenters glue
  • Sealer (or finish of choice)

Cutting List

  • 1 each    -   leg stretcher     2″ x 4″ x 53″
  • 2 each    -   seat slats          2″ x 8″ x 72″
  • 3 each    -   table top slats   2″ x 6″ x 72″
  • 2 each    -   top supports     (per drawing)
  • 2 each    -   front legs          (per drawing)
  • 2 each    -   back legs          (per drawing)
  • 2 each    -   cross pieces      (per drawing)

Assembly Instructions

A)   Cut all parts per cutting list.

B)   Place one rear leg in front of you.  Line up a front leg on top of the rear leg, aligning the bottoms of the legs.  Use the shorter front leg to scribe a mark onto the rear leg, along the top of the shorter leg.  This mark will be used to locate the crosspiece in the next step.

C)  Position a cross piece on top of the front and rear legs (as shown in drawing #2).  When you are certain you have positioned the parts correctly, fasten the cross piece to the legs, using glue and carriage bolts.

D)  Repeat step C for the opposite side, being careful to realize that the sides will NOT be identical, but are a mirror image of each other.

E)  Attach the leg stretcher to the leg assemblies, using glue and deck screws.

F)  Center the seat slats on the cross pieces.  The front seat slat should be flush with the cross piece (as shown in the drawing), with a 1″ gap separating the two seat slats.  Attach with glue and deck screws.

G)  Attach top supports to the rear legs, using hex bolts.  Use a carpenters level to level each support, and tighten the hex bolts.

H)  Center the table top slats on the top supports, leaving a 3/4″ gap between the slats.  Fasten with glue and deck screws.

I)  Double check to be certain that the table top is still level.  Using a 3/8″ drill, drill a hole through each top support, continuing to drill the hole though the rear leg, as well.  These are the holes that the eye bolts will pass through to support the top in the picnic table position.

J)  Now, move the table top to the bench position.  Experiment until you find the back angle that feels comfortable for you, and use clamps to lock the seat back into this position.  Using the upper 3/8″ hole in the rear legs that you drilled in the previous step as a guide, drill a 3/8″ hole into each back support.  Place the 3/8″ eye bolts into these holes to lock the back into the bench position.

K)  Apply a finish of your choosing, and enjoy your new benchtable! 

Mys-deer-ious Mystery

Back in September, 2007, I wrote a post entitled A Head Shed? , wherein I mused about finding a complete deer skull (including the racks) in one of our pastures.  I opined that the buck may have been taken down by a pack of coyotes, whereas several commentators posited that the deer may have been struck by a vehicle, or wounded by a hunter far from our property, eventually to wander over here to die.


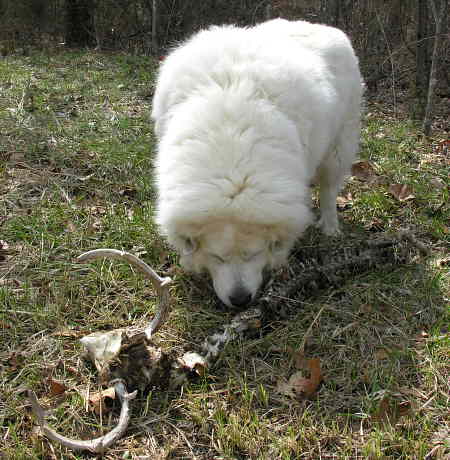
Well, that post was back in September, 2007.  This past March (2008), while hiking along in the “back forty”, Gracie happened upon this buck skeleton (pictured above).  The bones were picked clean, and mostly scattered in the immediate area.

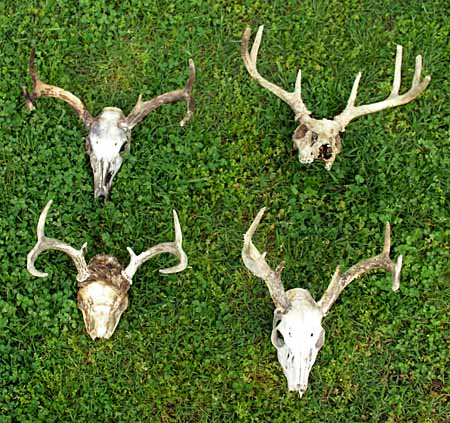
Since that second skeletal find in March, I have located two additional complete skulls on the property, bringing the grand total to four – all discovered within the past six months.

Considering that the closest paved road is about 2 miles distant from where these remains were found, I think it is highly improbable that all the deer were struck by a distant automobile and wandered, dazed and disoriented, onto our property to die.  One incident, perhaps – but four?  I doubt that vehicular mishaps explain my finds.

It seems strange to me that each of the skeletons I have found is a full grown buck.  I wonder if there is any significance to this, or is it just an improbable coincidence? 

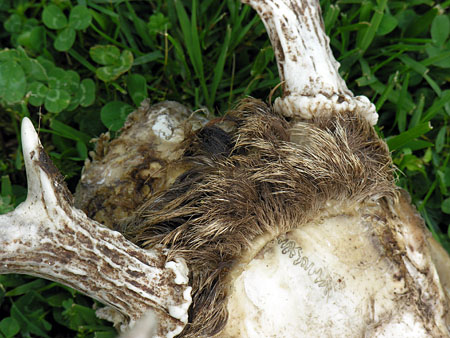
A bad toupee?

Anyhow, no matter what the cause of the demise of these unfortunate Odocoileus virginianus, don’t you think this is an astonishingly bad toupee?