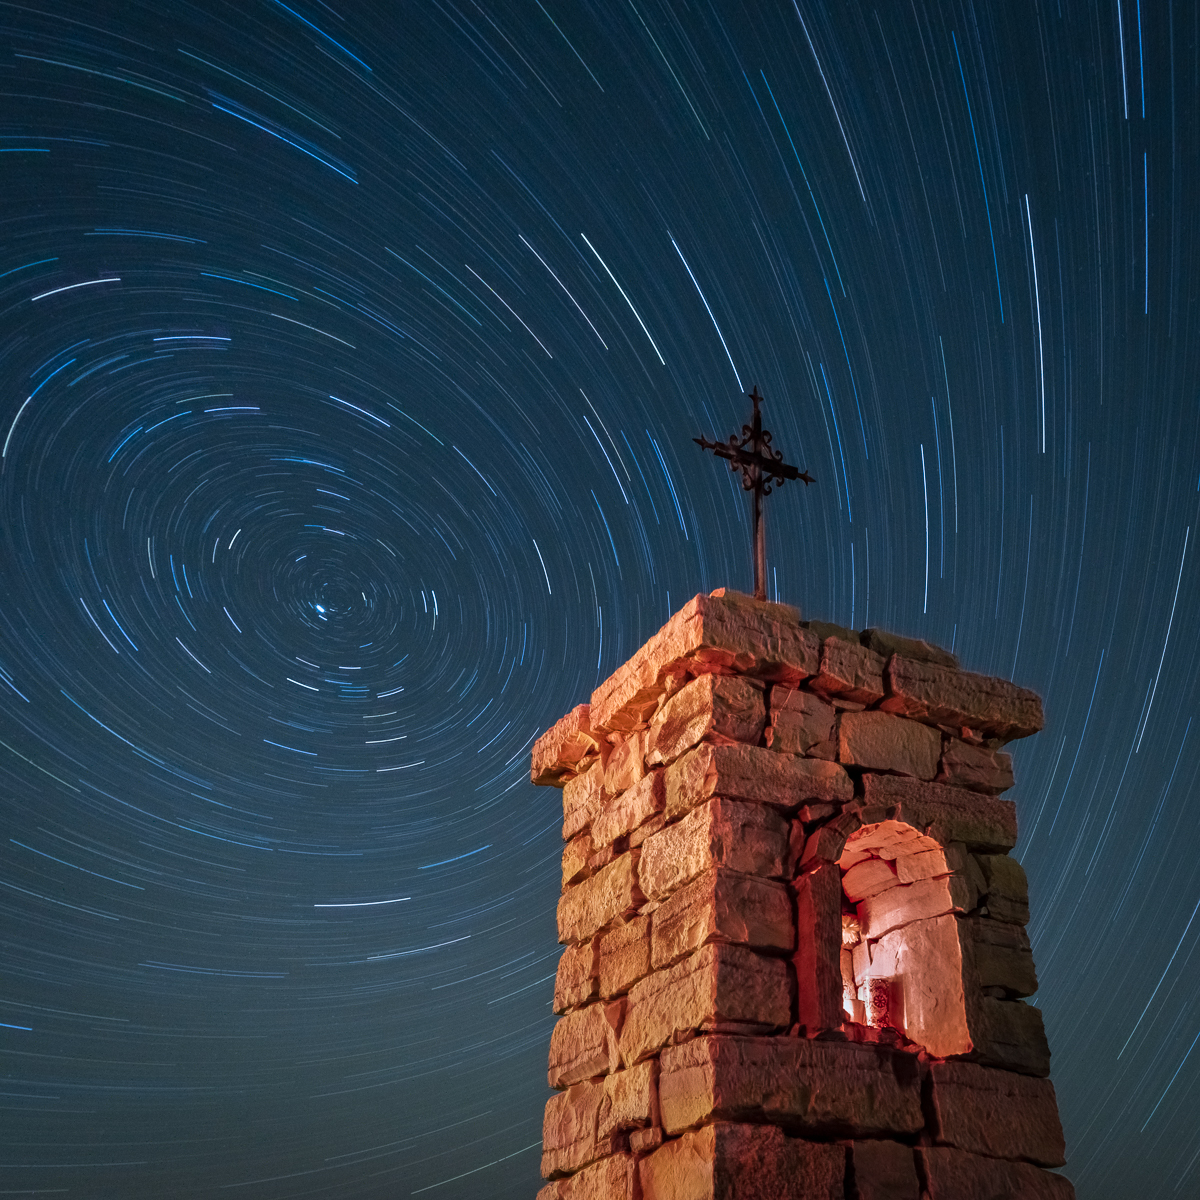
There are several techniques used to create this image, including a method of creating elliptical star paths that is easily accomplished from within Adobe Lightroom. I will walk you through the steps I used to create the image, leaving the elliptical star paths for last.
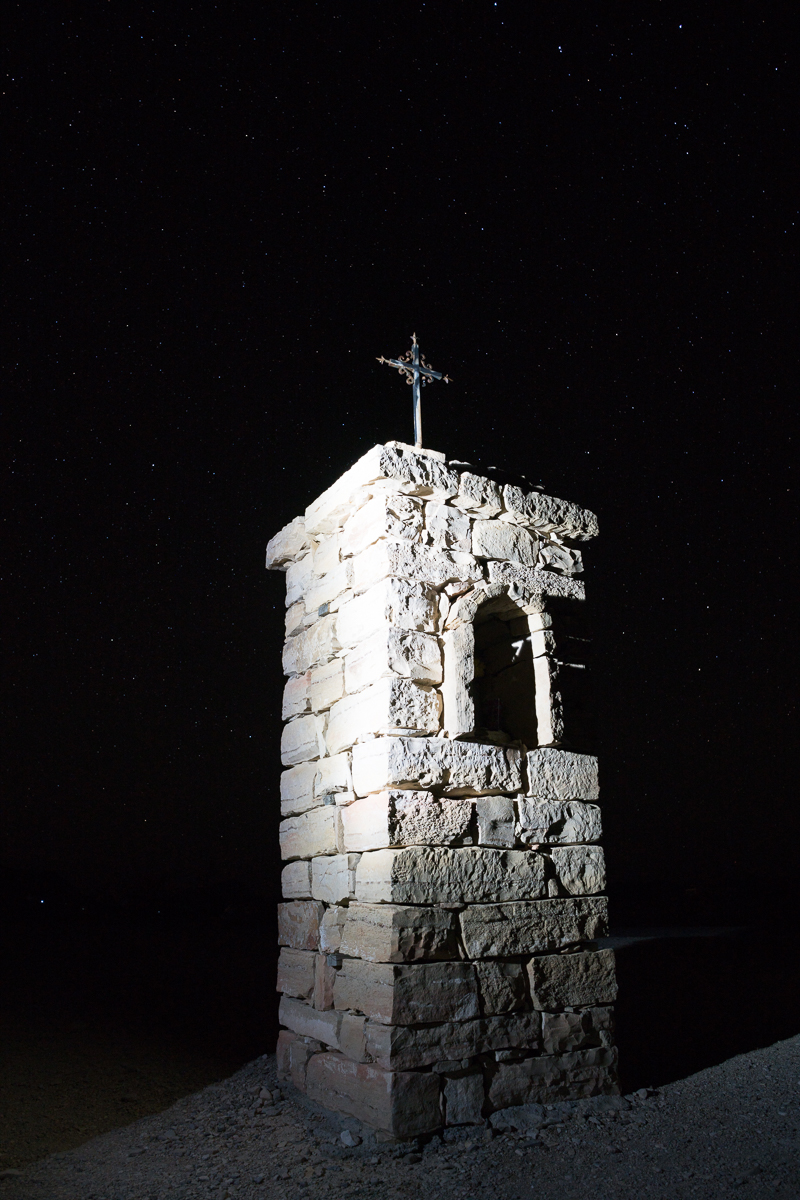
This is the initial test shot taken of the cemetery entrance monument. I used this shot to confirm sharp focus and to verify that the composition was what I desired. The hand held lighting was used here simply to aid in focusing the monument in the dark, especially helpful as this image was taken on a moonless night. Once focus and composition were confirmed, it was time to begin light painting the monument.
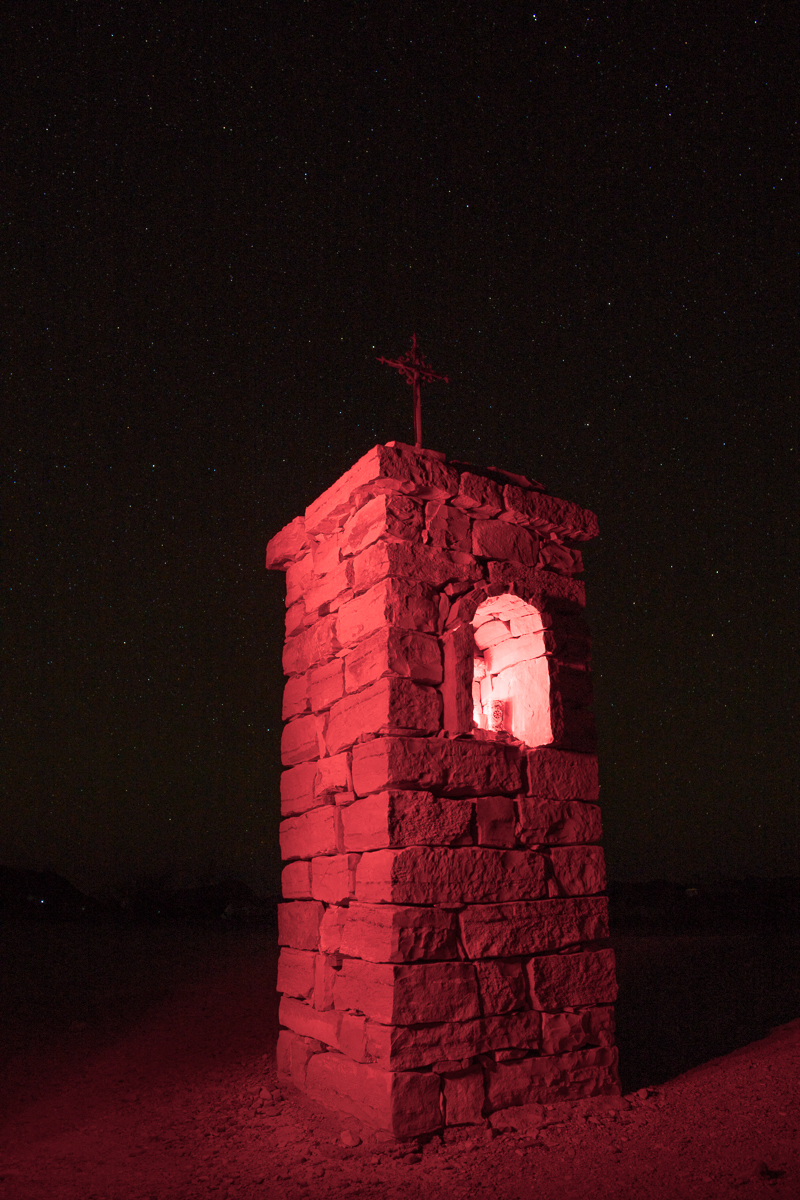
This first light painting exposure was used to create the overall color I wanted to impart to the photograph. This was illuminated using a hand-held LED flashligt with the addition of a red gel held in front of the light. The light was cast from the side, giving some dimension and texture to the monument. The side lighting helps prevent the flat, one-dimensional look that front lighting usually creates. The interior of the monument was lit with a small tea lamp. Because of the side lighting, you will notice a distracting shadow being cast on the right side of the alcove above.
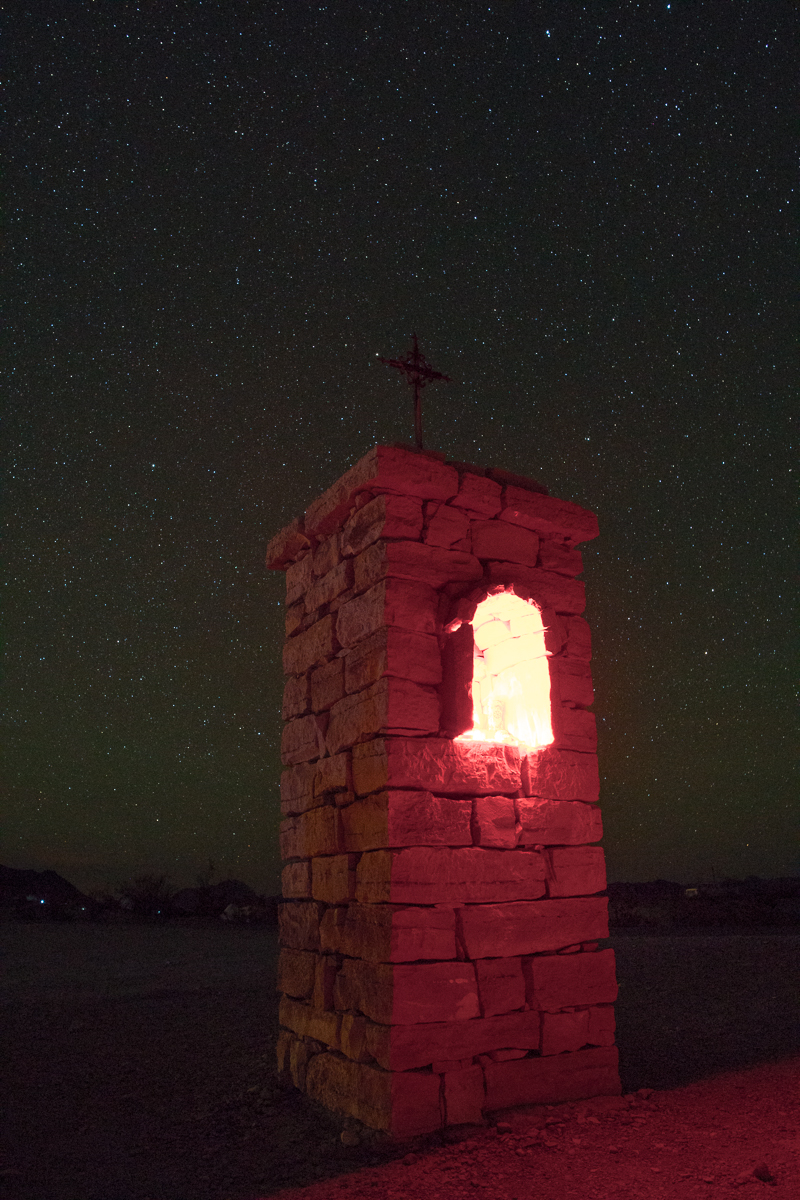
I took another exposure, this time using my hand-held light as a fill-light to paint away the shadow on the right of the alcove. I was not concerned about over-exposing the alcove in this shot, because I was only going to be using the portion of this exposure that filled in the harsh shadow on the right side of the alcove.
To recap, to this point I had three exposures, one test shot, one light-painted exposure, and one fill-light exposure. Now I needed to burn in some star circles.
This is the exposure that was used to capture the star circles. This was a 1 hr@ISO200 exposure, which was enough time to capture star circles of the length I desired. There is no “right” or “wrong” length to star circles – whatever length works for your own artistic sensibilities is the length to use.
Now that I had captured all of the data out in the field that would be necessary to produce the final image, it was time to get creative in front of the computer. Â The first step was to stack all of the source images as layers in Photoshop. The second step was to blend my light-painted layers with the star-circle layer until I achieved the lighting I desired in the final image The third step is where the novel technique used to create elliptical star paths occurs.
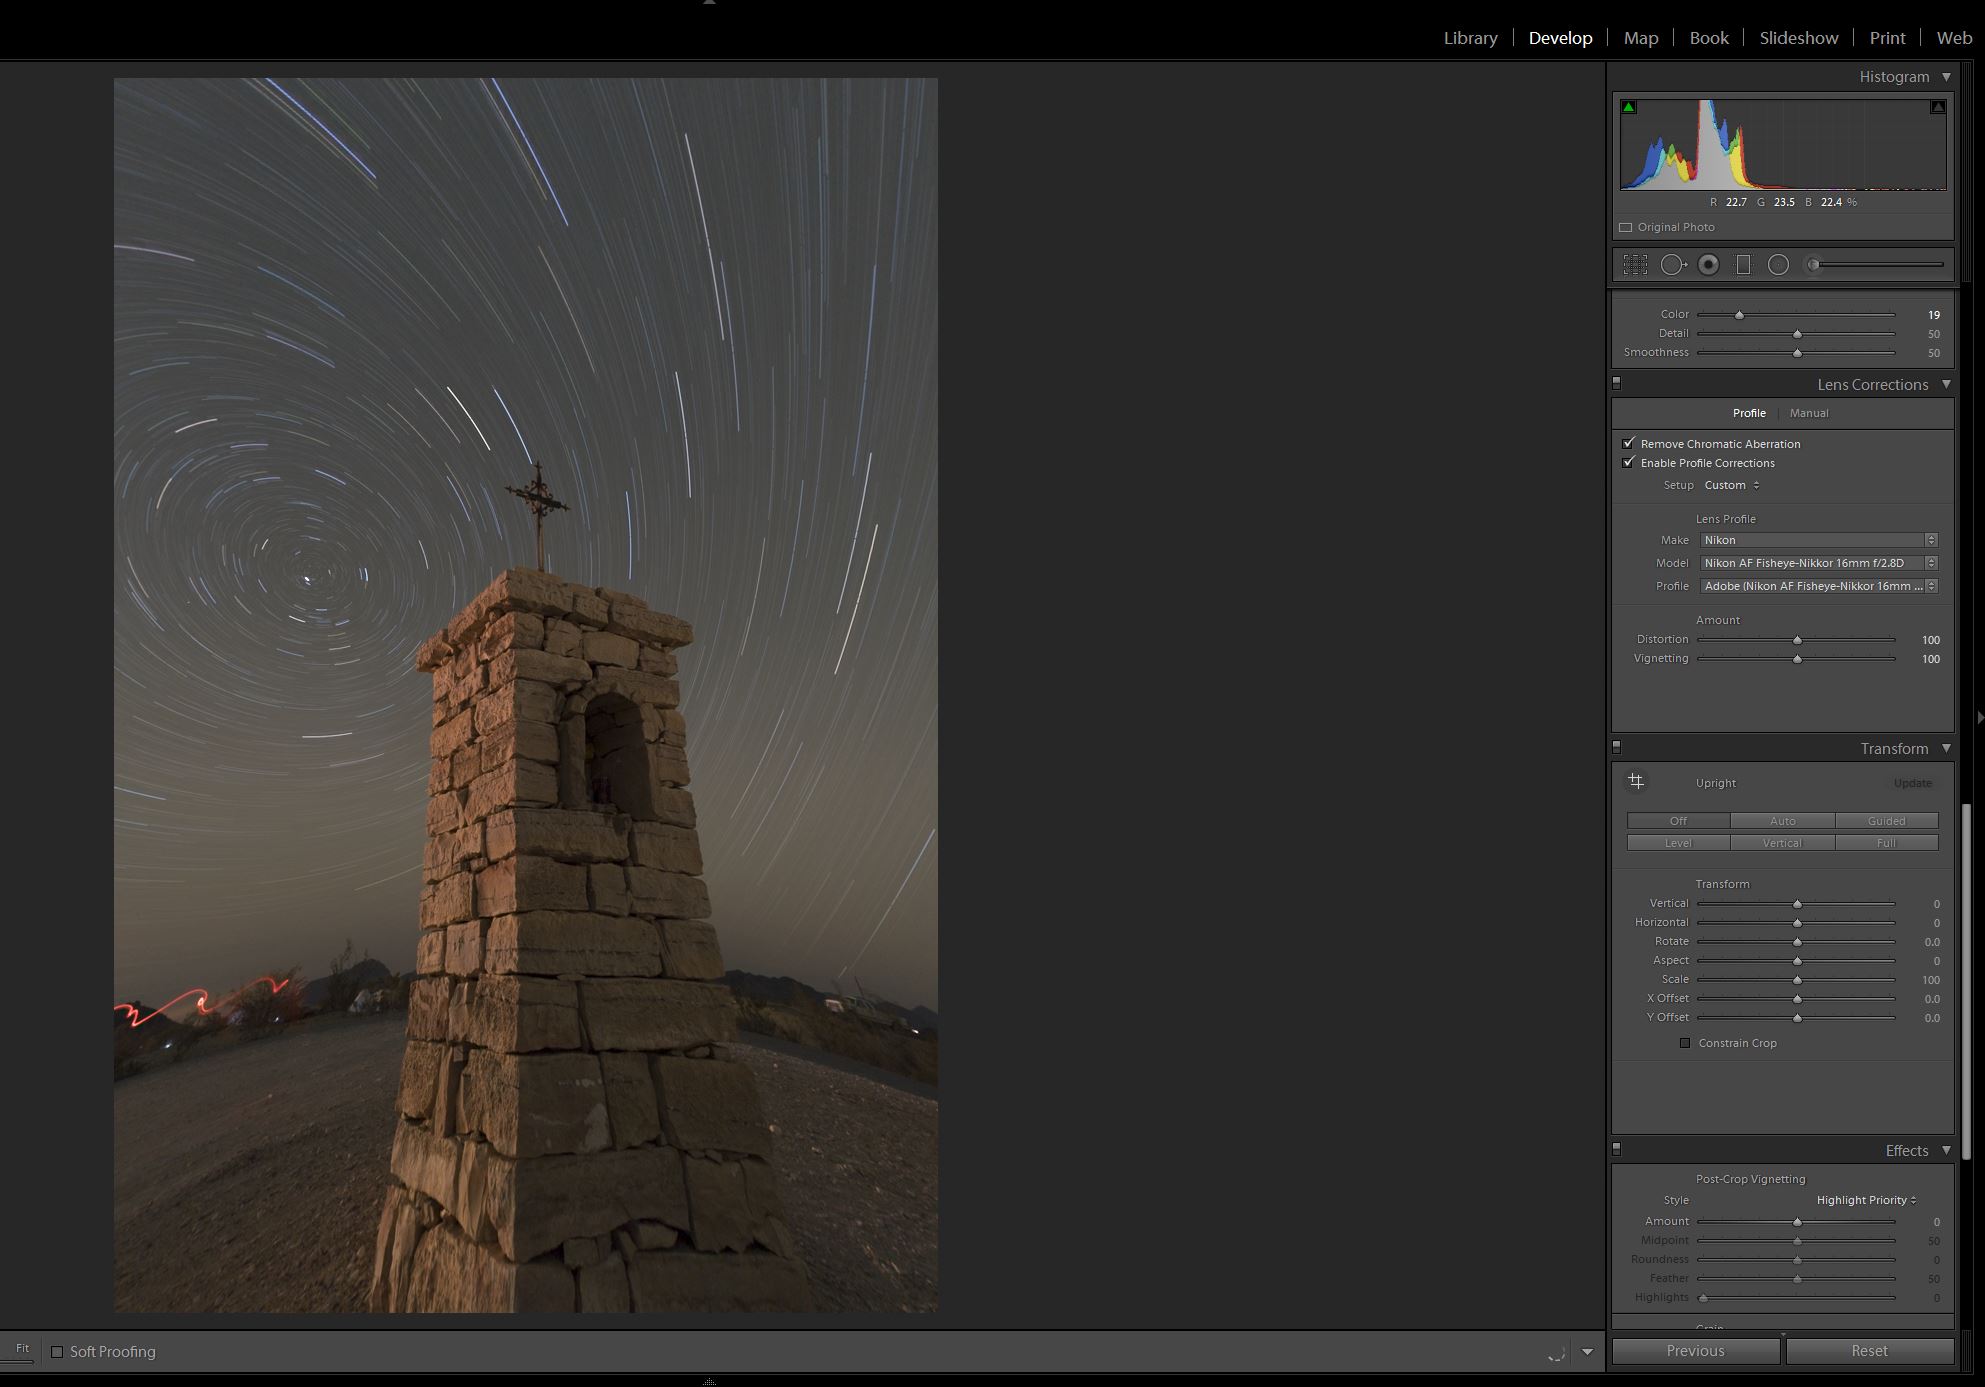
The magic occurs by simply instructing Adobe Lightroom to apply a Lens Correction Profile it has no business using (under normal circumstances). In the case of this image, the lens actually used to record the images was a Rokinon 24mm f1.4. I experimented with various lens profiles, and settled on using the lens profile for a Nikon-Nikor 16mm Fisheye. Â You can see from the screen capture above, the application of this (incorrect) lens profile created distortion in the star paths – exactly the effect I wanted – with just 1 click!!!
Now I finished the image by cropping the image to a pleasing dimension, touching up some hot pixels, and ended by performing some color corrections.
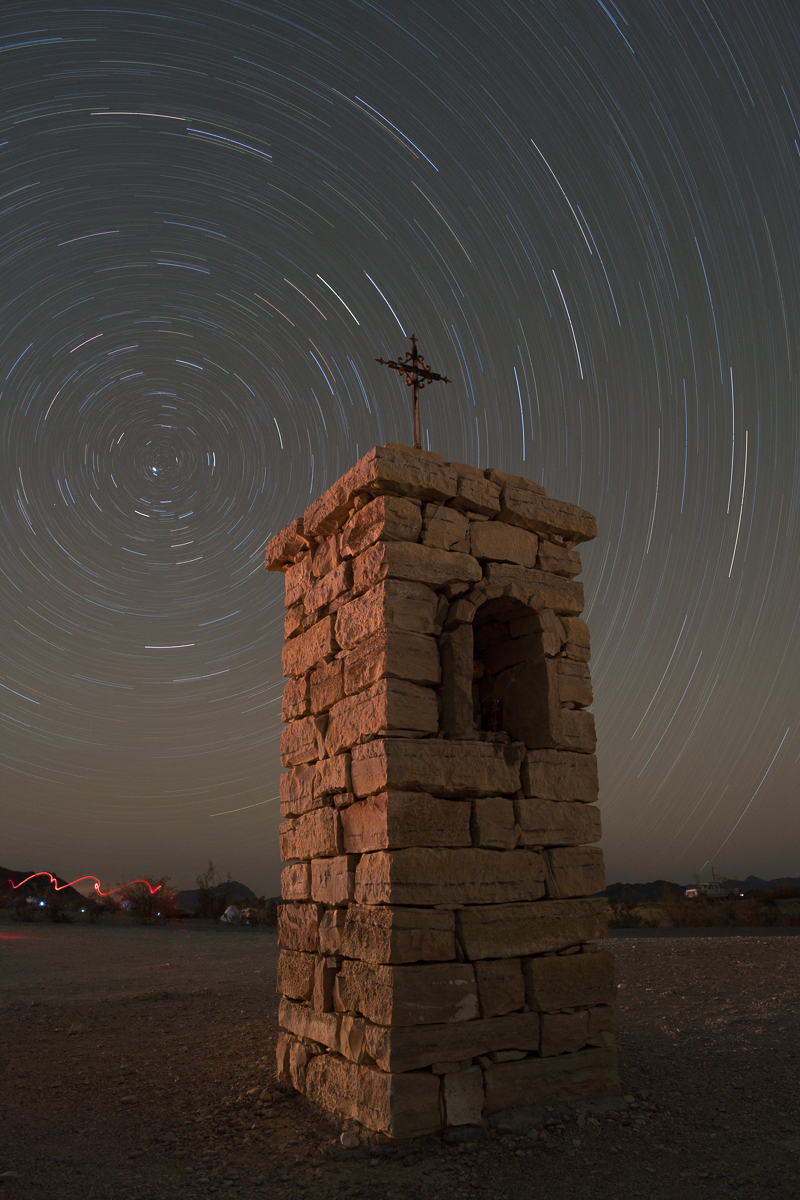
This is the final image, after cropping, blending, and color corrections. Notice that I chose to alter the color temperature of the sky from what I originally captured on location. Some viewers will like the color of the sky, some will not. Do what pleases you – you are the creative artist. Odds are, if you like the results, your audience most likely will also!
If this interests you, please check out Creating Elliptical Star Paths in Adobe Lightroom – Part 2, which shows a different, but related, method of creating elliptical star paths using the Transform Panel in Lightroom, this time applied to an image taken in Boxley Valley, Arkansas.



Wonderful!! Love it
Great job, Hal! Love the creativity you put with your technical expertise to create the desired effect.
Thanks Charles! I hope the information and experiences I share on this Night Sky Ramblins blog, and in each issue of the Night Sky Weekly will entertain and educate
Slick!
Pingback: Creating Elliptical Star Paths in Adobe Lightroom – Part 2 | Night Sky Ramblins